1) Open your endpoint
From the dashboard, choose the REST endpoint you want to modify. Open the Actions menu on the card.
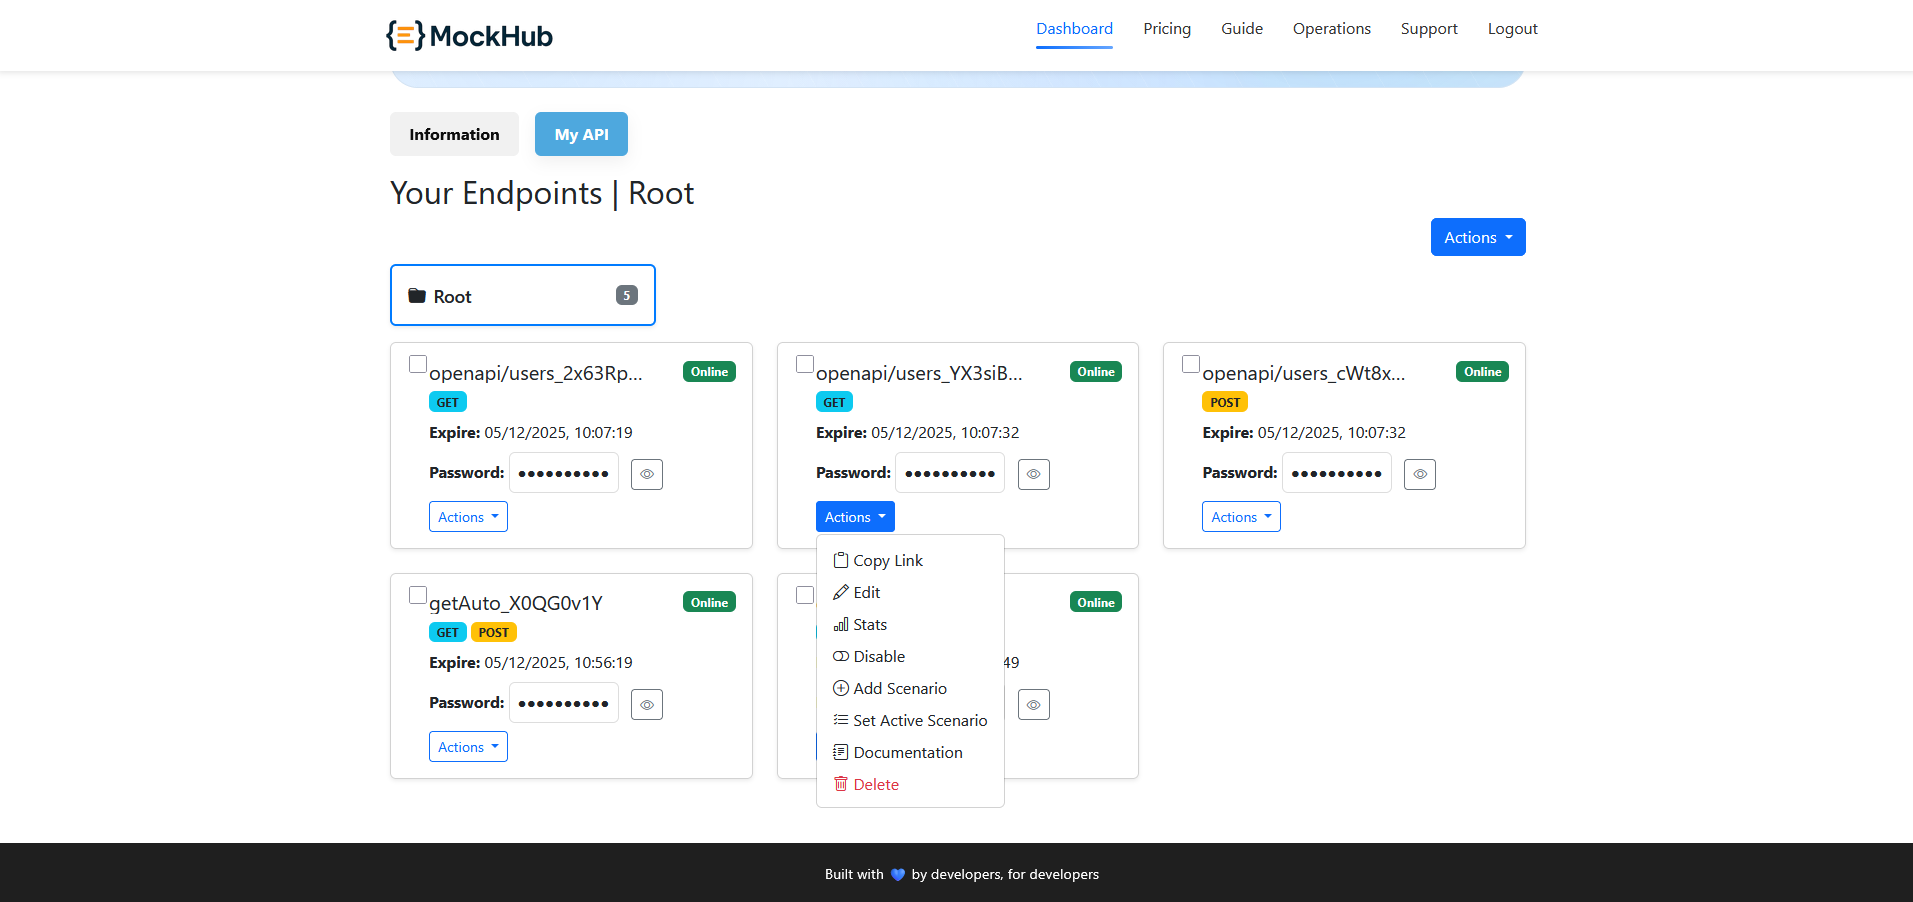
2) Add a scenario
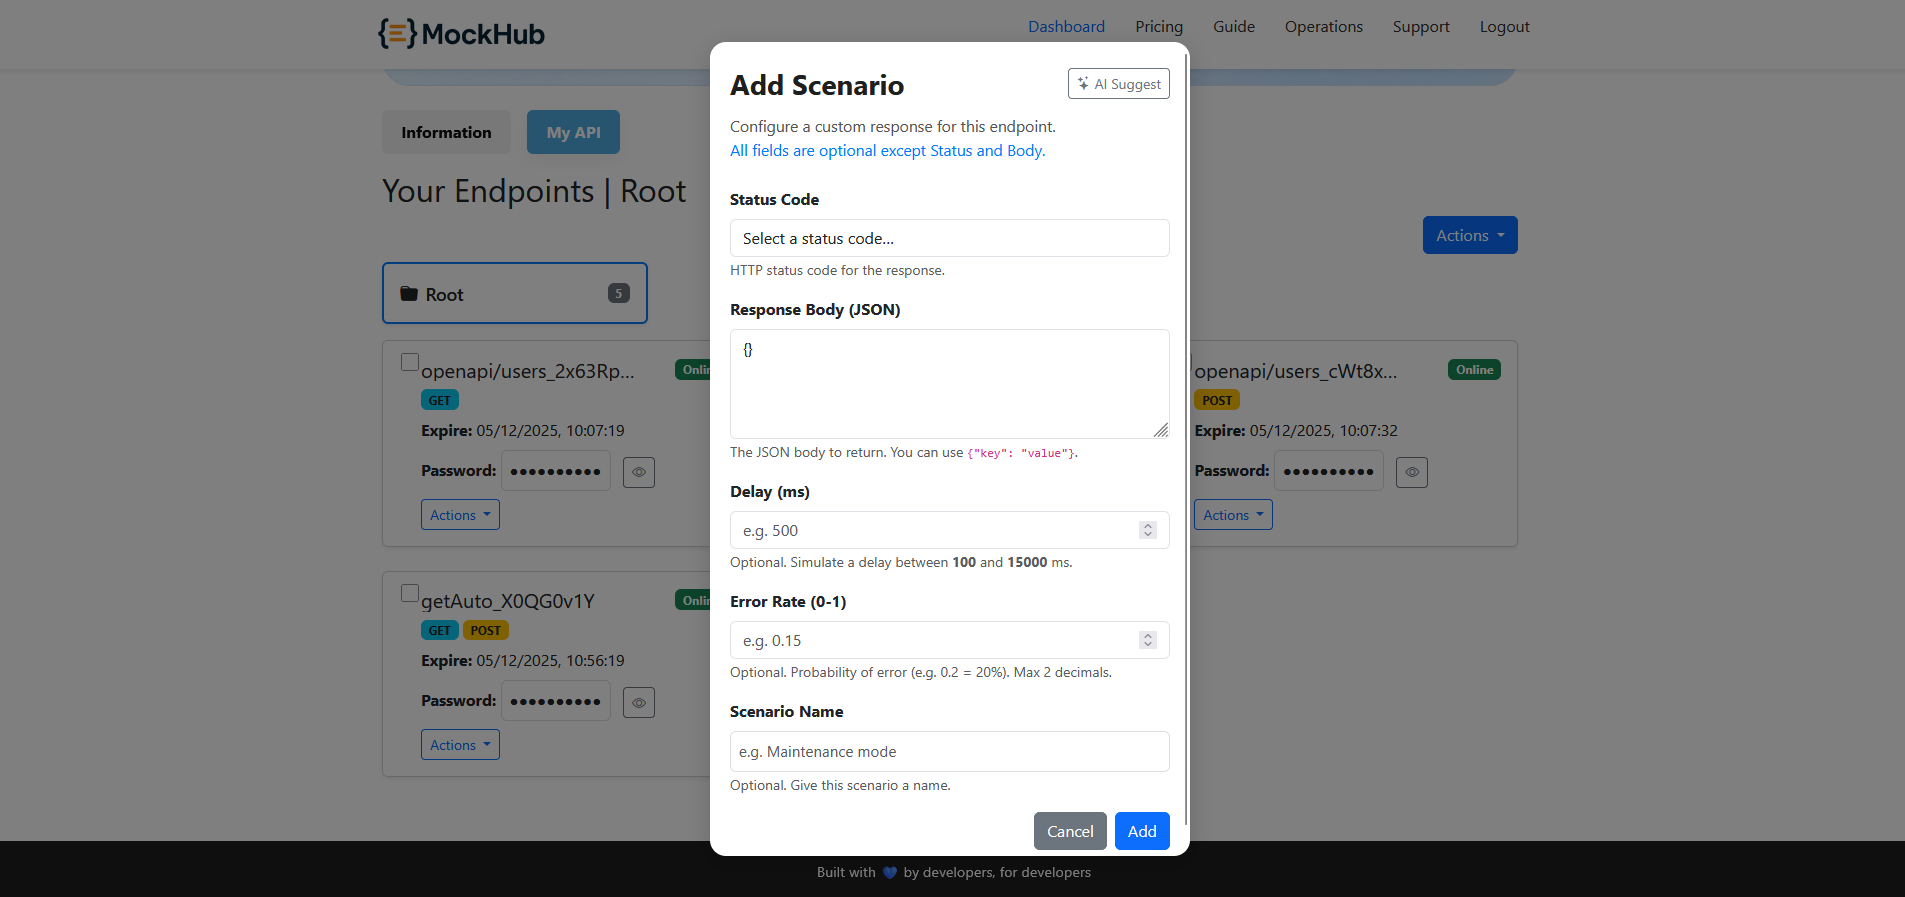
Click “Add scenario” to open the form, then fill in the fields below:
- Name/title: A short label (e.g., “Outage”, “Slow 500”).
- Status code: Choose an allowed status (e.g., 200, 400, 404, 500, 503).
- Delay (ms): Optional latency to simulate slow networks.
- Error rate: Optional probability (0–1) to randomly return the scenario.
- Response body: JSON payload to return for this scenario.
Tip: Use 200 with delay to simulate slow success; use 500/503 with a brief error message to test retry logic.
2b) Use AI Suggest (optional, premium)
Click AI Suggest in the modal header to auto-fill fields based on the selected status code.
- Prerequisite: Select a Status Code first, otherwise a warning appears.
- What it fills: Response Body (JSON), Delay (ms), Error Rate, and Scenario Name. It keeps your chosen status code unchanged.
- Auth: Requires you to be signed in; submits to
/ai_suggest_scenario. Premium accounts only; non-premium returns a notice. - Recaptcha: May request a short verification to prevent abuse.
Tip: After AI suggestion, review and adjust values to fit your exact test case, especially error_rate and delay_ms.
3) Activate the scenario
Use the toggle to set the active scenario. When active, the mock returns this scenario’s response (respecting delay and error rate) until you switch back.
Tip: Keep a “Success” scenario and an “Error” scenario so you can quickly flip between normal and failure flows.